Rocky Road Style Cake

Here is my recipe for rocky road cake, I don’t nuts or fruit in my cakes so there is none of that just totally unhealthy chocolate 😀

Basic Base:

  • Chocolate digestive biscuits or chocolate chip cookies (500g)
  • 1/2 a block of butter (125g)
  • Golden syrup ( approx 125g)
  • Chocolate!!!! (lots of chocolate at least 400g)

Additional Ingredients:

(so here is where I add any kind of chocolate/sweets I love. So from many attempts and reviews from friends in work (who love cakes) this is my most common mixture)

  • 2 Crunchy bars (honey comb base covered in chocolate)
  • 2 Packets of Rolos (chocolate coated caramels)
  • 1 bag mini marshmallows
  • After eights (mint fondant chocolate)
  • Mint Aero (peppermint chocolate bar)
  • Smarties/M&M’s (candy coated chocolates)

This is the procedure, the butter, golden syrup and chocolate were melted in a big glass bowl over a pot of boiling water, this is slow but it is the best way to melt chocolate, so while the chocolate mixture was melting, the biscuits were all put into a large sandwich bag and smashed into small bits with a rolling pin, (it doesn’t matter if the biscuits are crushed into crumbs or if the biscuit bits are even sized) the biscuits were then added to the melted chocolate mixture and evenly coated in the mixture. While the mixture is still wet I then mix in the Rolos, Smarties, mini marshmallows and After eight’s. I crushed up the honeycomb and mint Aero into small pieces and add them into the cake mixture. 

I then get a big tin, lined with grease proof paper and press the cake mixture into the tin. I press it down firmly, and place in the fridge over night.

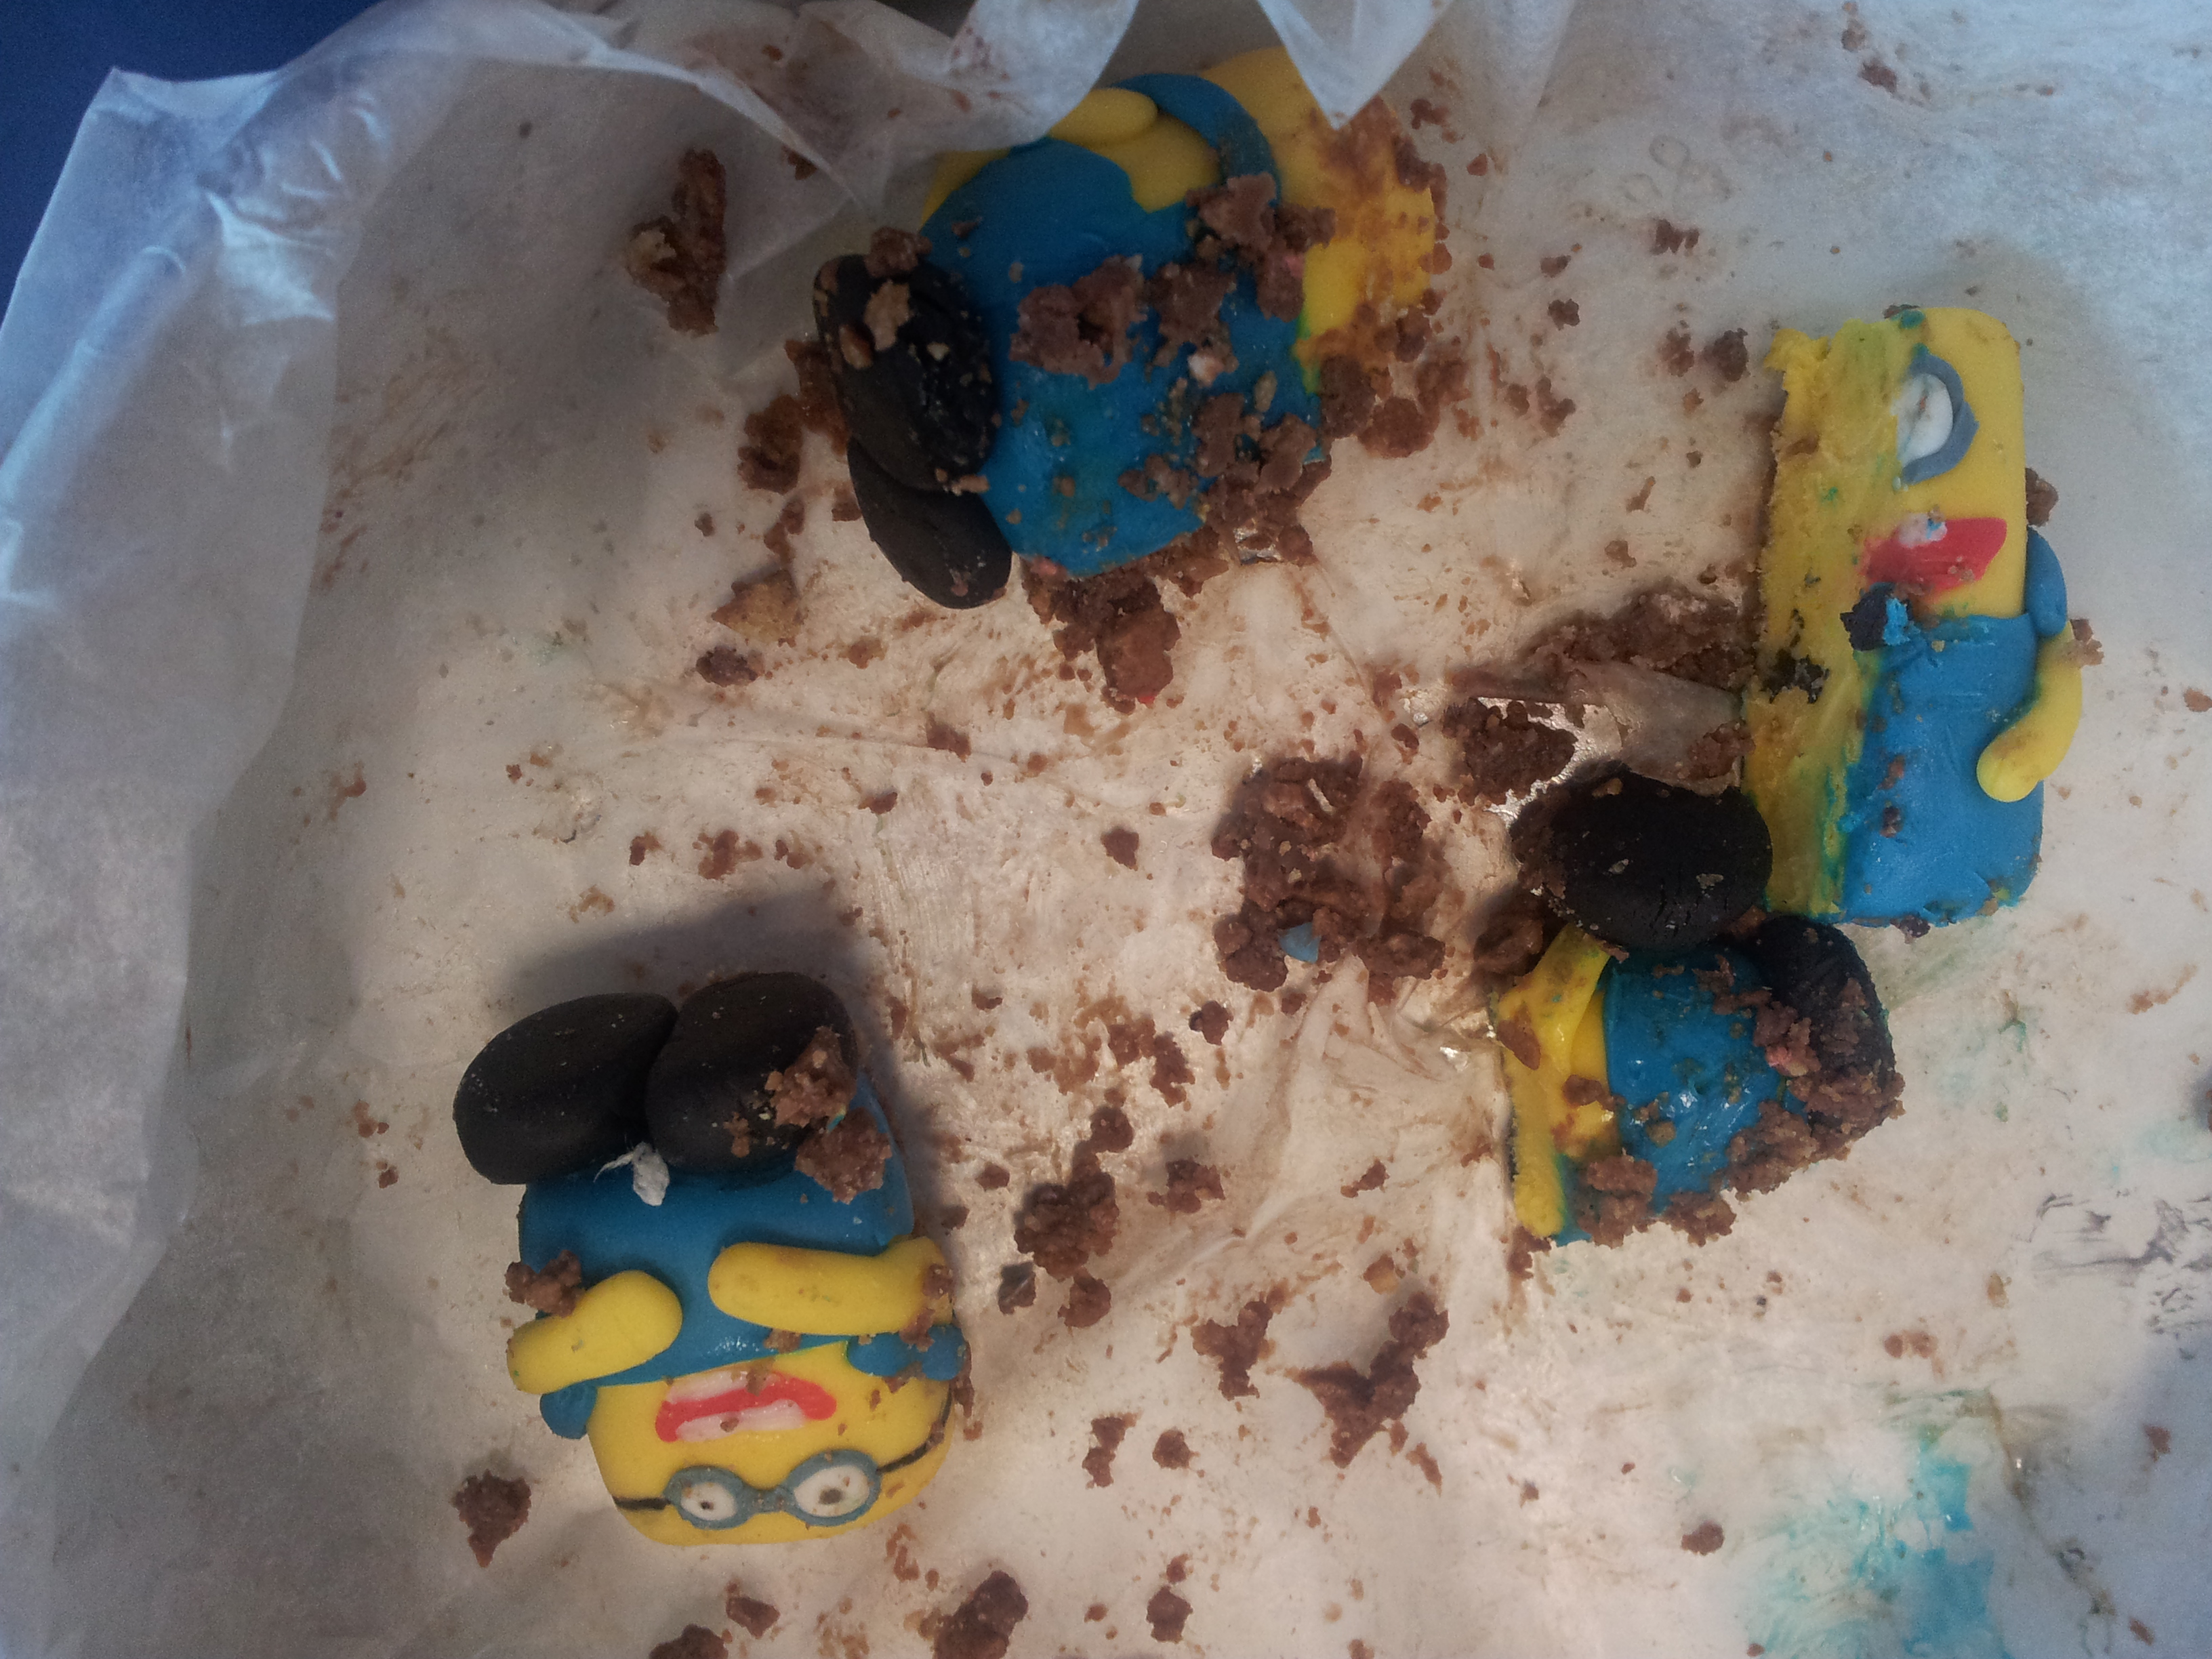
Here is there photographic proof that the cake is delicious

Image

Within 20 minutes this is what was left, even the minions were murdered.

Image

Minions

So I love minions, they are so cute and friendly and fun to make, so here is a quick guide on how to make them. I made these minions one evening after work, they are made from colored sugar-paste. The colors I used are yellow, blue, red and black. There are only a couple of basic shapes needed to make any kind of characters. A ball shape, a cone shape and sausage shape.

Image

OK so first thing is to decide what size and shape you want your minion to be.  Here are some basic body types of the minions. I used the handle of a paintbrush to poke a dimple into the minion where I wanted the eyes to be.  I then got a small amount of white sugar-paste, rolled it into a cone shape, (make a ball and then pinch one side) I then put the pointy end of the cone in the eye socket. I used edible glue to fix it in place, (with sugar-paste a small amount of water works as glue as does egg white, if you don’t have edible glue) I then used the end of the paintbrush to make another hole in the minion where I wanted the mouth to be. Then I made a red sausage shape and filled in the mouth space.

2013-09-11 19.48.50

The next step is to make the dungarees/overalls. I got the blue color and rolled it out into a thin strip. I then painted glue onto the lower half of the body shape and stuck the blue strip, to the correct height. The strip was smoothed over the bottom of the body and stuck 3/4 of the way up the back, to make the dungarees/overalls shape. I then made narrow sausages of blue slightly flattened to sit on the shoulders of the characters to be the straps of the overalls. I crossed them in an “X” shape on the back. I made the arms with more yellow rolled into sausage shape.

I rolled some white sugar-paste into a thin strip and cut some small squares for the teeth. The shoes were made using black sugar-paste rolled into a fat sausage stuck to the bottom of the body and flattened so the characters could stand upright. I outlined the eyes in blue to make them more minion like. I drew an eye ball into the white shape with an edible black marker, I drew straps on one of the minions to make it look like he is wearing glasses. So now the minions are finished.

2013-09-11 21.50.42

Thanks for reading

dee

Basic Madeira Cake

Ingredients:                                                                          
190g self raising flour
130g caster sugar
2 eggs
125g butter, room temperature
125ml milk
1 teaspoon vanilla

Cooking Time/Temperature:                                         
Preheat oven to 180oC. Cooking time about 35 minutes

Method:                                                                                 
Line a large sandwich tin with parchment paper.

In a bowl, mix the flour and sugar together, add in the butter and beat well, add remaining ingredients and beat well until smooth and lump free. Bake at 180oC for about 35minutes until a tester inserted into the middle of the cake comes out clean.

Moist Chocolate Cake

Ingredients:                                                                          
250g self raising flour
250g caster sugar
2 eggs
125ml oil
500ml milk
1 teaspoon vanilla                                                               
130g cocoa powder

Cooking Time/Temperature:                                         
Preheat oven to 180oC. Cooking time about 35 minutes

Method:                                                                                 
Grease  3 (9 inch) round tins

In a bowl mix all the ingredients together until thick and glossy, scrape down the sides  now and then to remove all the lumps. The mixture will be very runny, this is perfect!

Pour the mixture into the prepared tins place into the oven at 180oC for about 35mins until the tester comes out clean. Let the cake cool in the tin before turning out to cool completely on a wire rack.

Orange Chocolate Cake

Ingredients:
175 g dark chocolate
Grated zest of 3 oranges
150 g self-rising flour
1 Tablespoon cocoa powder
175 g softened butter
225 g superfine sugar
6 eggs, separated
pinch of salt

Frosting:
125 ml cream
Grated zest of one orange
225 g dark chocolate
1-2 Tablespoons orange syrup (see below)

Orange syrup:
Juice of 4 oranges
1 – 2 Tablespoon sugar


Oven Temperature/Cooking Time:
Preheat oven to 170oC. Cooking time about 40 minutes

Cake:
Grease and flour a 9 inch round cake pan. Put a round of baking paper in the bottom, and grease and flour it as well. Break the chocolate into smallish chunks and put it in a bowl over a pan of simmering water. Be sure not to let the bottom of the bowl touch the water. When it has melted, give it a stir, remove it from the heat and set it aside.

Mix the flour with the grated orange zest. Use your fingers to crumble it together so that the clumps of zest are broken up into small bits and coated with flour. Add the cocoa to the flour/zest mixture. In another bowl, beat the butter and sugar until it is very light and fluffy. Gradually beat in the egg yolks. Stir in the cooled melted chocolate. Fold in the flour mixture.

Whip the egg whites with a pinch of salt until they form stiff peaks. Take a couple of tablespoons of the egg whites and mix into the batter, mixing well. This is to lighten the batter a little bit. Then fold the rest of the egg whites carefully into the batter, being careful not to over mix. Fold just until you don’t see streaks of white any more. Put the batter into the prepared cake pan and bake for about 40 minutes, until a skewer inserted into the center comes out clean.

Turn cake out onto a wire rack to cool.

Syrup:
Squeeze the juice from the oranges and put it in a pan with 1 – 2 Tablespoons of sugar, according to taste. Cook on high heat, swirling to incorporate the solids, until it’s thick, about 2-3 minutes.

Frosting:
Put the cream into a small pan and add the orange zest. Heat gently till just below the simmering point and then leave to cool. (I do this before I make the cake) When the cream is cool, strain it into a clean pan and heat again, to just below the boiling point. Chop or break the chocolate into pieces about the size of the end of your little finger (or smaller). Put the chocolate and the cream in a bowl over simmering water, being careful that the bottom of the bowl doesn’t touch the water. When the chocolate has melted, give it a stir and add 1-2 Tablespoons of the orange syrup.

Finishing:
When the cake is cool, spoon the syrup over the top, and spread it gently with the back of the spoon. Give it a minute or two to soak in. You don’t have to let it run down the sides, because it will only run off. Move the cake to the serving plate, pour the frosting over the top of the cake and smooth it down the sides. Leave it for 4-5 hours until the frosting has a chance to set.

White Chocolate and Raspberry Cookies

Ingredients:                                                                          
320g of all purpose flour
1 1/2 tsp baking soda
1/2 cup white sugar
130g brown sugar
125g butter, room temperature
2 large eggs
2 cups of cut raspberries (fresh is best)
2 cups of chocolate chips ( I like white chocolate, I freeze it, then smash it up into chips with a rolling pin)

Cooking Time/Temperature:                                         
Preheat oven to 180oC. Cooking time about 10 minutes

Method:                                                                                 
Line a baking tray with parchment paper.

In a bowl, mix the flour and baking soda, set aside. In a separate bowl cream the butter and sugar together, add the eggs one at time beating between each addition until fully mixed. Gradually add all the dry ingredients, followed by the raspberries and chocolate chips, beat them well to combine them.

I then put the cookie mixture into a sausage shape on cling film, roll it up and refrigerate it for about an hour. Then I cut the cookie mixture into equally sized disks and place onto the baking sheet. Bake for about 10-11 minutes, until cookies begin to brown and are set. Cool for 2 minutes on baking sheet and then transfer to a wire rack to cool completely.

Very Lemony Cake

Cake:
4 small lemons (Note: Avoid the giant lemons! Smaller lemons tend to pack more flavour, contain less water)
385g plain flour
1/2 teaspoon baking soda
250g butter, that is completely softened
385g superfine  or caster sugar
6 eggs, at room temperature

Glaze:
2 lemons
250g caster-sugar

Tin:
3 (9 inch) round tins OR 2 (9 inch) square tins

Cooking Time/Temperature:
Preheat oven to 160oC. Cooking time about 90 minutes

Method:
Grease the cake tins and dust with flour; tap out any excess

Wash the lemon skin with water and dry completely.  Zest the lemons, being careful to avoid the pith (the white part found right under the yellow skin of the lemon). Cut the tops and bottoms off of each lemon, with one cut side down on the cutting board, trim the pith off the lemon, vertically, going all the way around each lemon, exposing the flesh of the lemon. Over a bowl, cut segments from membranes, letting fruit and juice fall into the bowl, being sure to discard the seeds and the remaining membranes. With a fork, break up the segments into small pieces.

In a separate bowl, combine the sugar and the lemon zest. Work the sugar and zest together until the sugar is moist, grainy and very aromatic. The sugar may turn a yellow colour.

Sift the flour and baking soda into a medium bowl and set aside.

Beat the butter until soft add half the sugar and mix, until well combined. Then add the rest of the sugar and mix again until all combined. Add the eggs, one at a time, beating just until combined after each addition.

Mix in the dry ingredients, a little at a time to avoid clumping. Finally gently fold in the lemon juice and segments. Transfer batter to prepared pan. Bake the cake until tester inserted near center comes out clean. Let the cake cool in the pan on a rack for 15 minutes. Cut around the cake in the pan, turn out the cake. Carefully turn cake right side up on rack.

While the cake is cooling, juice the remaining 2 lemons. In a small bowl, slowly add the powdered sugar and stir until smooth. It should be thin enough to be pourable over the cake but not pour off the cake. (Tip: The glaze should be able to coat a teaspoon)  If it’s too thin, add more powdered sugar. If it’s too thick, add more lemon juice. Poke small holes all over the top of the cake using a fork or toothpick. Carefully pour the glaze over the tops and the sizes of the cake. Let the glaze harden for at least 2 hours.

Cake cake and more cake

Here are some of the cakes I have made. I love making cakes and decorating them. The most common cakes I make are madeira cake, moist chocolate cake and rocky road.

This is a mint chocolate squared cake, I made a basic chocolate madeira cake for the chocolate squares and added mint essence and green food color to a plain madeira mix for the green mint squares. This is very simple cake to make. I made 3 identical sized cakes then layer them together and cover them all in chocolate. The checkered effect is made by adding the cake mix into the tin in a specific order. In each of the 3 identical sized tins, there are 3 circles of cake mix.

In tin 1 and tin 3, the outer circle of cake mix is chocolate, followed by an inner circle of green mint mix and finally the center of the cake tin is filled in by chocolate mix. In tin 2 the circles are opposite the outer and inner circles are mint and the middle circle is chocolate. Once all the cakes are cooked,cooled and stacked on top of each other the checkered effect is achieved.

I sprinkled the top of the cake with popping candy and honey comb crumbs. Before I served the cake I cut the wedge out so that the checked effect could be observed.

Image

These buns are plain madeira mix in a pumpkin cake mould, this was my first time using a silicon mould. It worked very well, once the cakes were cooled I cut off the tops (the faces are at the bottom of the mould) and severed the cakes as park of my Halloween feast.

Image

This is a favorite cake of mine and my work colleagues, it is a rocky road type of cake which I then covered in blue sugar paste and used black and white sugar paste to decorate the cake with a whale, I added the red stars because the cake looked kind of plain.  The stars were made from a star punch, the whale I made free hand by looking at a photo of a whale.

Image

These are teddy bear faces I made for a cake sale fundraiser, I thought they would be handy to sell and attractive to children. I made the faces by cutting out one circle in a lighter cookie mix for the faces, then 2 slightly smaller circles in a darker mix for the ears and nose, one of the smaller circles was cut in half making 2 identical sized ears. Chocolate chips made the eyes. I pushed a lolly pop stick into the face of the bear and cooked them. Once they were cool I scratched a bear smile onto the nose piece.

Image

For these cupcakes I was learning to used butter icing  and pipe it from an icing bag….my technique is still not great!

Image

This chest cake is made from a madeira loaf cake with blue sugar paste rolled out with a texture rolling pin, to give a chest effect. Then a slim blue sugar paste sausage was attached to the edges as piping. The finishing touches were added the buckles/hinges just like a real chest would have.

Image

This is a bear I made for a valentines cake, I made him with gray sugar paste, with some small black circles for the eyes and nose. I then added red hearts to make it a valentine cake, I made the hearts different thicknesses as some people like to pick off the sugar paste and eat it separately.

Image

Halloween Project 2012

This is the first thing I have ever knitted, I made this witch for Halloween last year. I found the pattern easy to follow and as there were many small parts it was not as daunting to make. Each individual part I completed was a small achievement.

The first photo is of the witches legs each leg is knitted as one piece along with the foot/shoe. I was delighted to see that each tube I knitted once stuffed resembled what it should a leg and foot.

Image

The second photo is of the legs and body and one arm/hand. As it was my first knitting project I was very impatient to see what the assembled parts would look like, as soon as each part was finished I stuffed and attached them.

Image

The third photo is of the completed project. I called her Morag!

Image

Pinocchio Project

My current knitting project is Pinocchio. I have always loved the fairytale so when I saw this pattern in a kitting magazine, I immediately started it.  I have only been knitting a year, and I found this pattern easy to follow.

In the first photo are all the body part I have knitted so far. The main pieces are the red and green body and the tan/nude colored head. The other pieces are the red and tan arms, the tan legs, black shoes and green shorts. The second the photo is the puppet as it will look once I have all the individual parts assembled.ImageImage